I did my research project on Parallax Occlusion map decals. Floating decals can be used to add lots of depth and detail without having to add extra geometry or go through the hassle of baking high poly meshes over and over again.
I used the Blender plugin Decalmachine to help automate parts of the process for me, but you can make decals easily using substance painter, maya, zbrush, or whatever as long as you can bake heightmaps to a plane!
The first step is to create a plane and model whatever you want to bake inside of it's bounds:

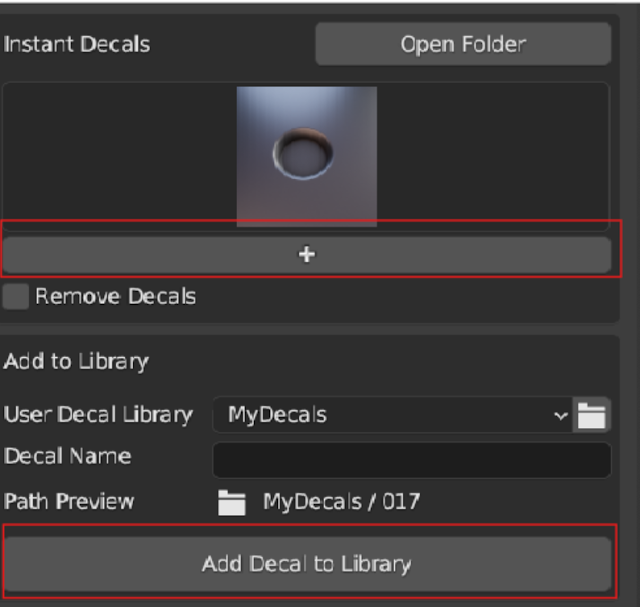
In this instance I wanted to make a detail for this plug, so I created a plane, modeled the plug, and then using Decalmachine's "Create SIMPLE Decal" tool, baked its heightmap to a plane:


To add your custom decal to your decal library, use this add button to insert it into your scene then press "Add Decal to Library"
After applying it next to the real one, it's hard to tell the difference! Decals work best for things like these, small details that are relatively shallow. The parallax occlusion mapping can only fake so much depth before looking strange so try to keep the height range pretty low. Another tip is to avoid 90 degree edges in your decal models, because vertical faces don't bake to heightmaps well! always scooch in your faces a little bit to give them some slope.

After creating several different decals and applying them around the mesh to add tons of fake detail, we can start creating our texture atlas. Luckily Decalmachine has tools for this that make it really easy. All you have to do is select all your floaters, and press the "Create New Atlas from Selection" Button:

After the Atlas is generated from your decals, you can open the export tab in Decalmachine and select your Atlas, and select your floaters, then click the "Use Atlas" to adjust their UVs and make them all use your new atlas:

After that's all out of the way you can export the Atlas textures, make sure you get the height map and the normal map, those are the most important! The channel packed maps are useful also for controlling AO, opacity, and other parameters.

With your textures exported, export your mesh and decals together as an FBX and bring it all into Unreal. You'll need to create a POM Material for the decals.
These youtube videos are very helpful in setting up the material correctly:https://www.youtube.com/watch?v=vwR0pDPKzeQ&t=1120s&pp=ygUecGFyYWxsYXggb2NjbHVzaW9uIG1hcHBpbmcgdWU1
The end result should look something like this:

If we apply this material to our decals, we can see our hard work in engine!

On the left you can see some random decals floating on the surface of this cube, and on the right we can see the atlas on a plane.
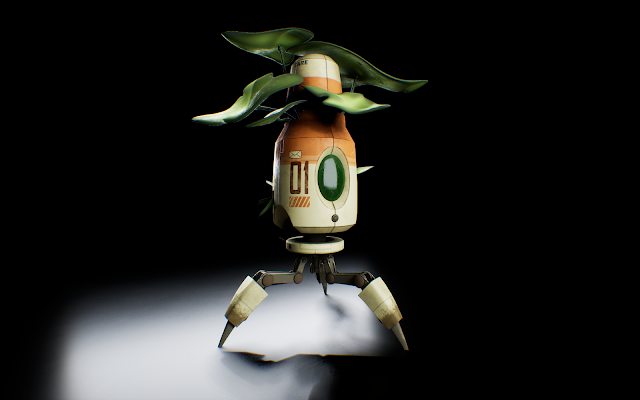
You can see some of the decals in action on the knob in the screenshot of my week 3 portfolio project, where I made round indents with floaters.


One issue I ran into was the normal mapping on the radial decals because they are all sharing the same space and are reflecting light wrong.


No comments:
Post a Comment