For my project, I decided to make sprites from my favorite retro game, Chrono Trigger! I also made a system that cycles through meshes to give the illusion of an animation, so let's jump right into it!
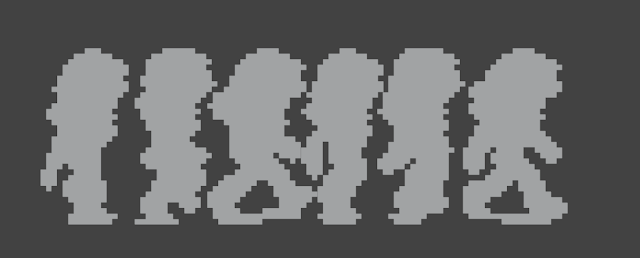
First, we need our reference/textures. Here are the walk cycles from the sprite sheets I obtained online:

Next, I went into Blender and created a large array of cubes on the X and Y axis:

We can align this grid of cubes to our images containing our walk cycles now:
Note: If you're having difficulty aligning the pixels it's probably because the pixels in your image aren’t exactly square, which is ok. You’ll notice that the farther out in your array you get, the pixels will align less and less as the offset gets more noticeable with increased distance. The fastest way to fix this is to align the cube to a pixel on the far bottom left corner as best you can, then pan over to the far right, and scale your cube very gently along the X and then Y axis until the farthest cubes in the array align to the pixels in your reference. It's probably not “perfect” but any offset should be imperceptible.
After aligning the grid we can apply our array modifiers, and then use the circle or box select tool in wireframe mode from the top view to select all the cubes that are on our character, select linked just to make sure the cubes are selected entirely, and then either delete everything else by inverting the selection or just separating out the selection to a separate object with “P”:
Once we have these cutouts ready we can apply textures to them (you can also bevel all the cubes now if that's the look you're going for, but I decided not to). Instead of using multiple materials, I decided that planar projecting the UVs of the mesh onto the reference would be the best bet. Since we already aligned the cubes to our image, if we either planar project from the top or do a camera project (same thing really in this context, I used a camera project) we can just align the UVs to the image and our cubes will be colored correctly:
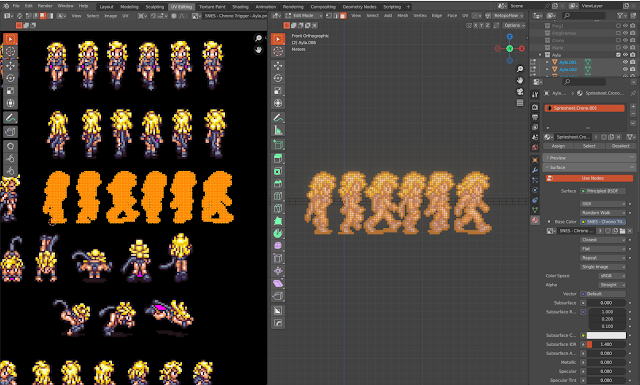
Once in Unreal we can also plug the BC map into emission and get a nice glowing result like this:

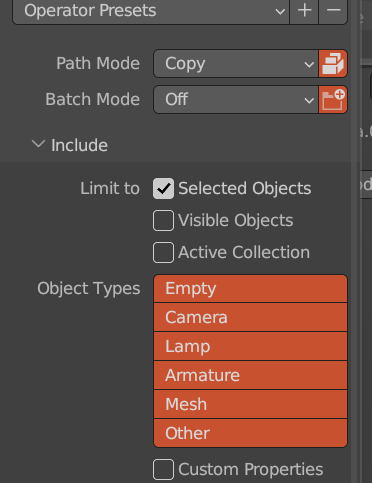
At this point, they're ready for export, so I put them all on top of each other at the world origin, set their origin point to the same point, and exported them as fbx. Make sure your export settings are as follows: Path mode - Copy, Check the Embed textures box next to it, and Limit the export to the selected objects (otherwise the whole scene gets exported)
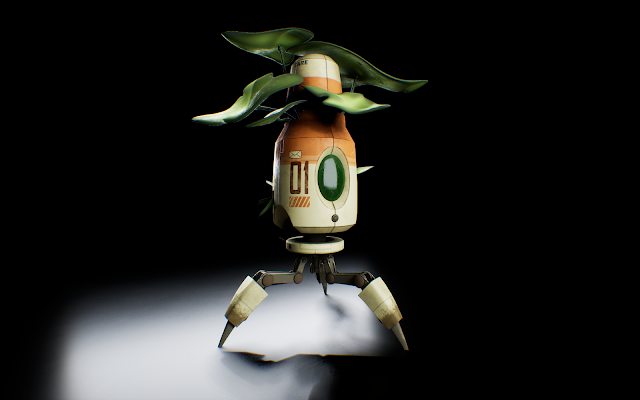
Once in Unreal, we should have a nice-looking mesh like this-

(This has some volumetric fog and post-processing on it)
Now onto the next step, making our animations! So the idea here is that we have each “frame” as a
separate object, and we want to switch them out rapidly in order to make our animation, just like in 2D
but with some extra steps. Here is the blueprint I made:
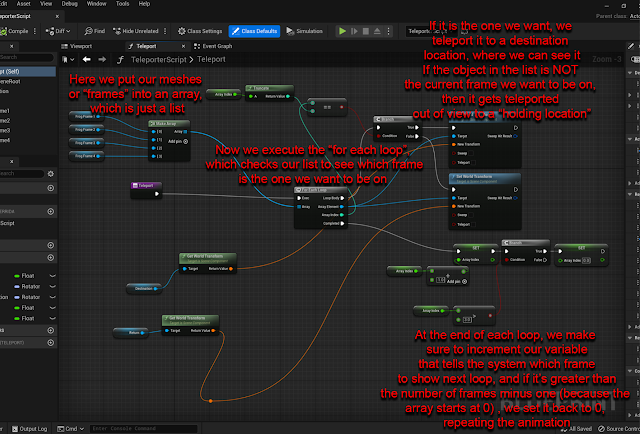
I will try to explain this as best I can but don’t get scared by the nodes, it's pretty straightforward.
We bring all our frames into the blueprint, along with two empties that define a “destination” location where we will show the frames to the player, and a “return” location that hides them out of view. Our frames go into an array (fancy programmer speak for a list) that goes into a “For each loop” node, which will perform an operation on each item in our list every time it is called. That operation checks to see if the frame number is equal to the “Array Index”, which is a variable I made that starts at 0 and increments by 1 every time the loop is finished. If it is equal, the frame teleports into view at the destination empty, if it is not, it teleports out of view far away at the holding location. So the first time the loop runs, “Array Index” will be 0 so frame 0 will go to “destination” and the rest will go to “return”, then Array Index increases by one each cycle so it plays through our frames in order. We also check to see if the index number is greater than the length of our array, if so, we reset to 0, so the loop can continue. We then parent this whole blueprint to an eternally spinning cube (a separate object with a script that rotates it every frame) and now we have our characters walking in a circle around us!
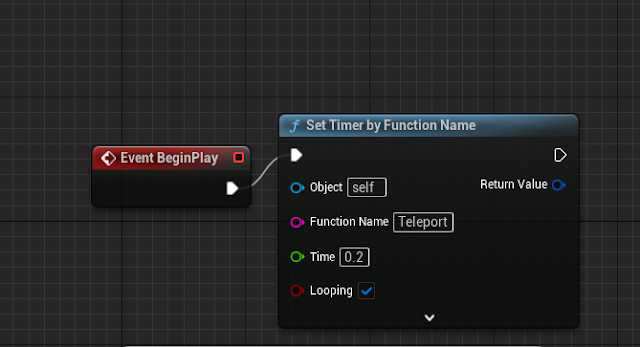
NOTE: This whole node network is in a function that’s being called every .2 seconds once the
scene starts like so:
Final product!: